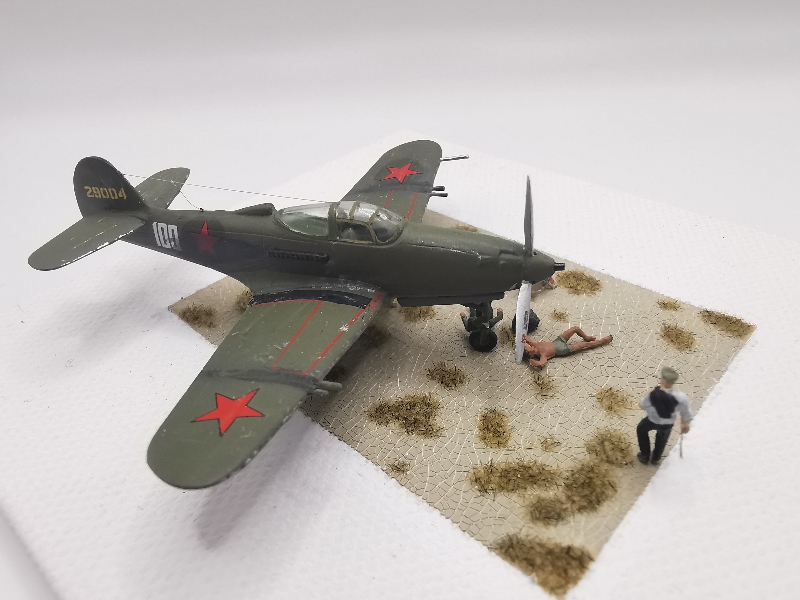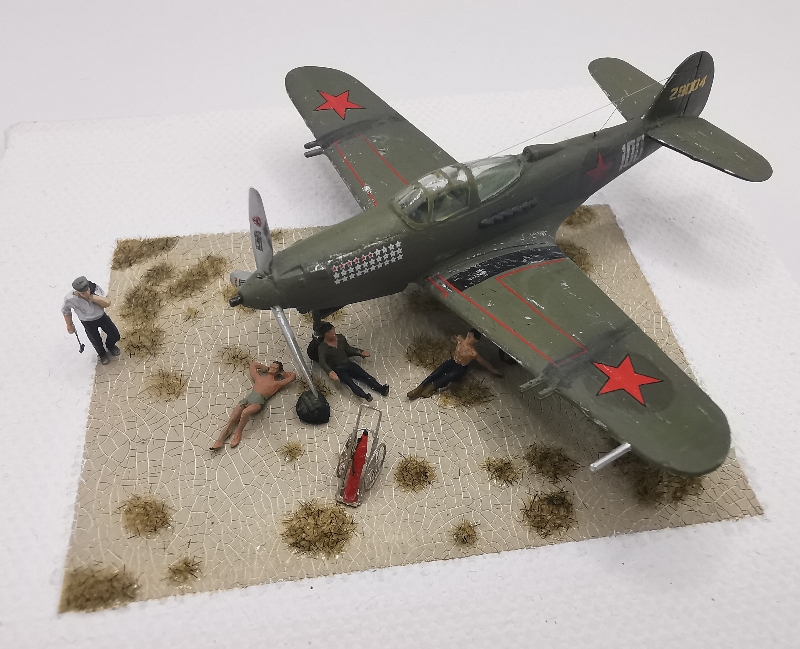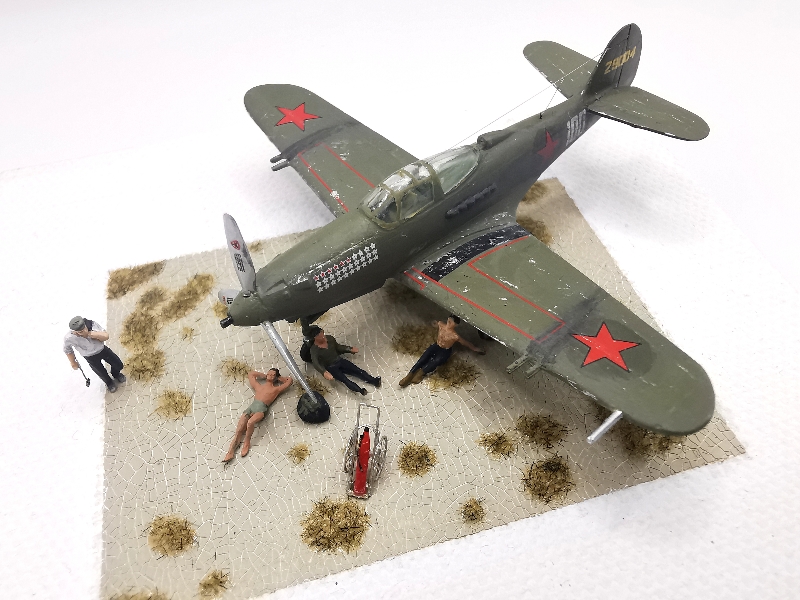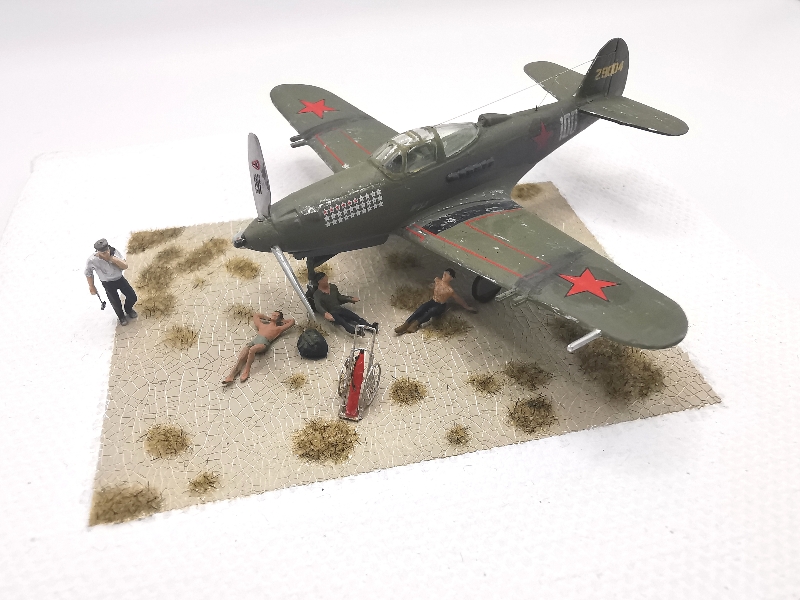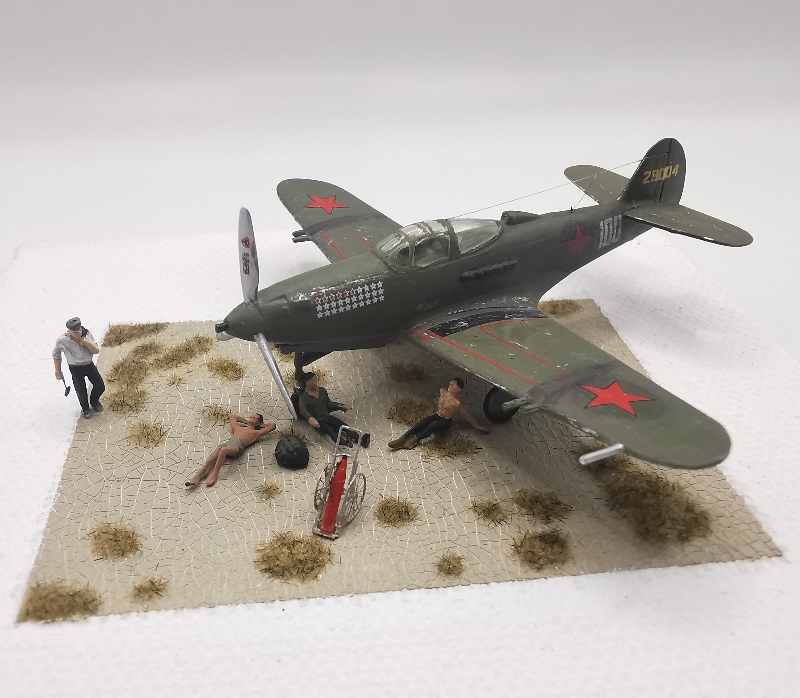
Summer, 1943. A dusty airfield somewhere in the northern Caucasus region. Soviet mechanics have caught up with maintenance checks on Alexander Pokryshkin's P-39 and now in the long evening light, relax under the plane before the truck comes by to pick them up for dinner.
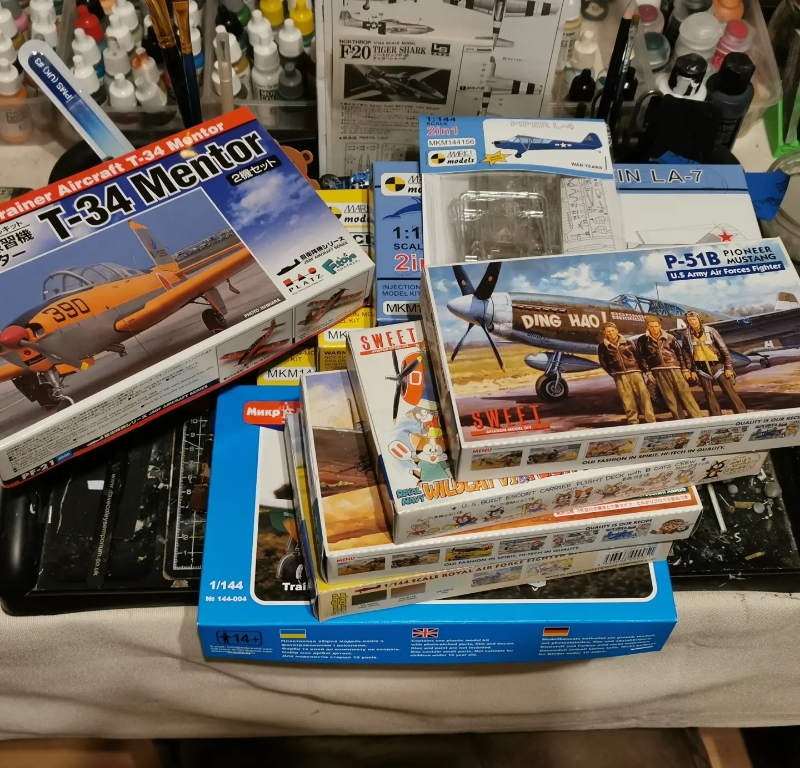
This build was part of my 12 Builds of Christmas project - this started as a desire to take a break from a number of very complicated builds that were clogging up my bench and sapping the mojo, instead to focus on 12 straight forward builds on straight forward vignette bases - using a production line technique for efficiency.
I started on the 12th December with the original plan to complete all the builds by the 22nd January IPMS Bolton show. As it was, the project took a lot longer, as one might expect. Instead I ended up splitting the project in half and completing the first six during February of which this was one.
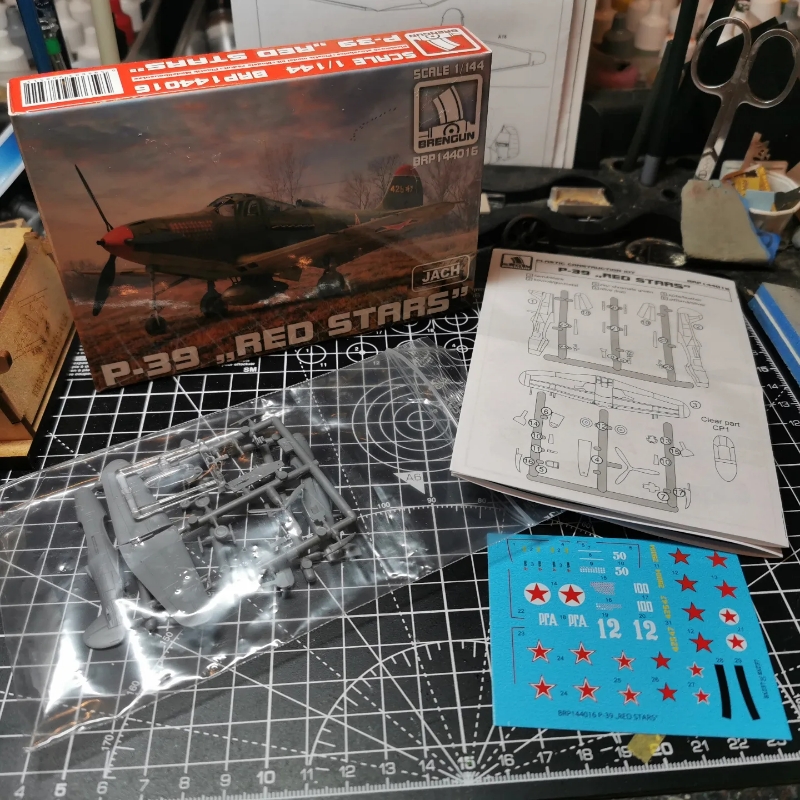
The kit is from Brengun and was first released several years ago with US markings but was recently reissued with Soviet schemes.
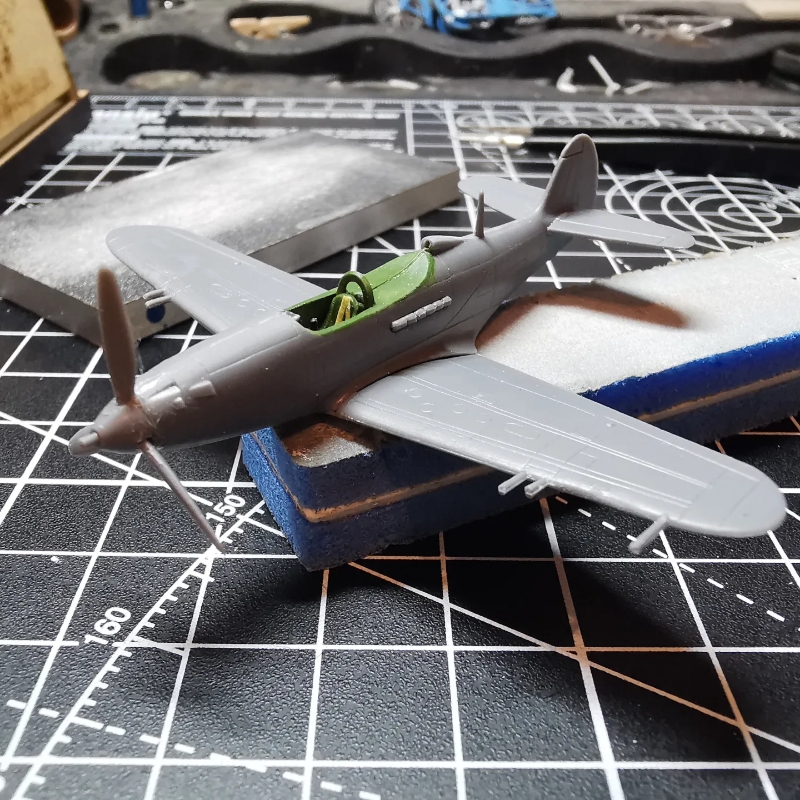
It is a short run kit so needs a little careful assembly but generally goes together very well.
In fact I was so happy with the kit that I ordered several more of the boxings as Hannants had them listed at 33% off.
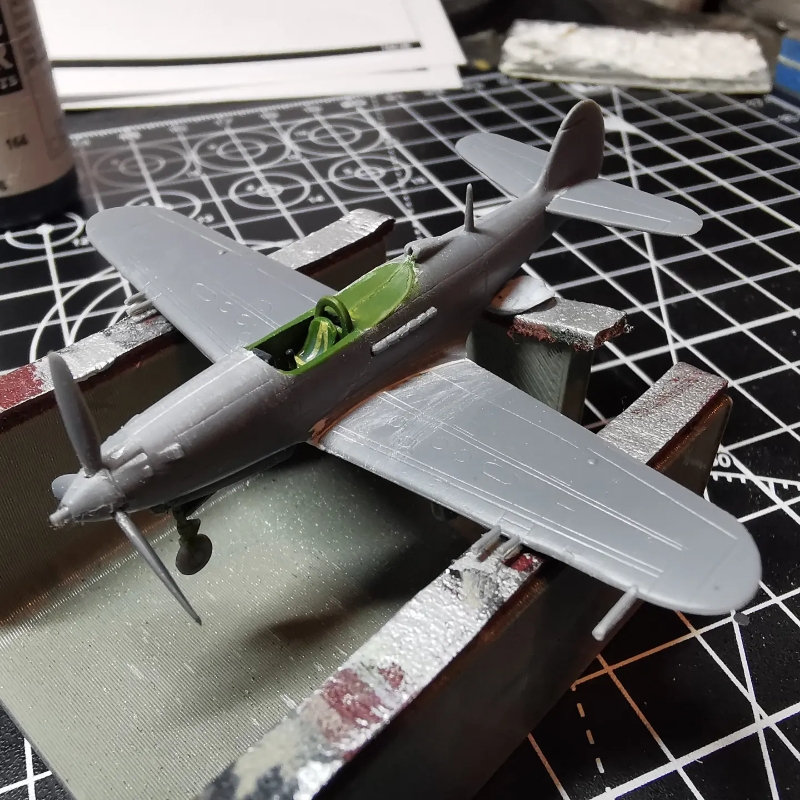
The undercarriage went on without a fuss - something that can often be very fiddly on short run kits - although I think I cut the main leg slightly short as the model doesn't quite have the iconic high nose stance of the prototype.
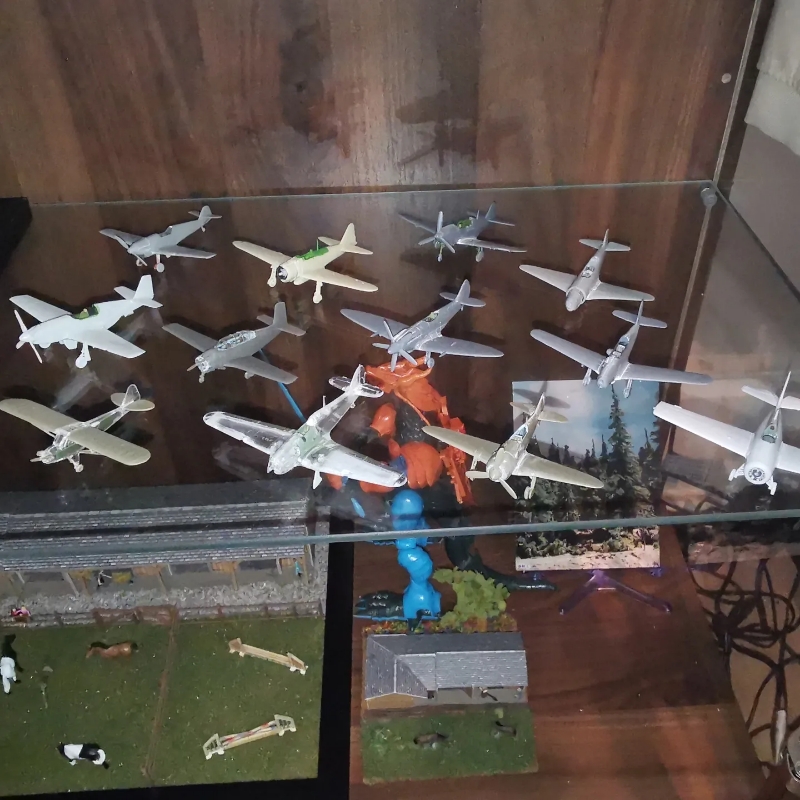
She joined the completed assembly. My prime goal in this project was to keep the production line moving at the same pace, so I couldn't be tempted to leave some of the more complex kits aside and speed ahead with the easier ones. So until all were assembled, no painting was started.
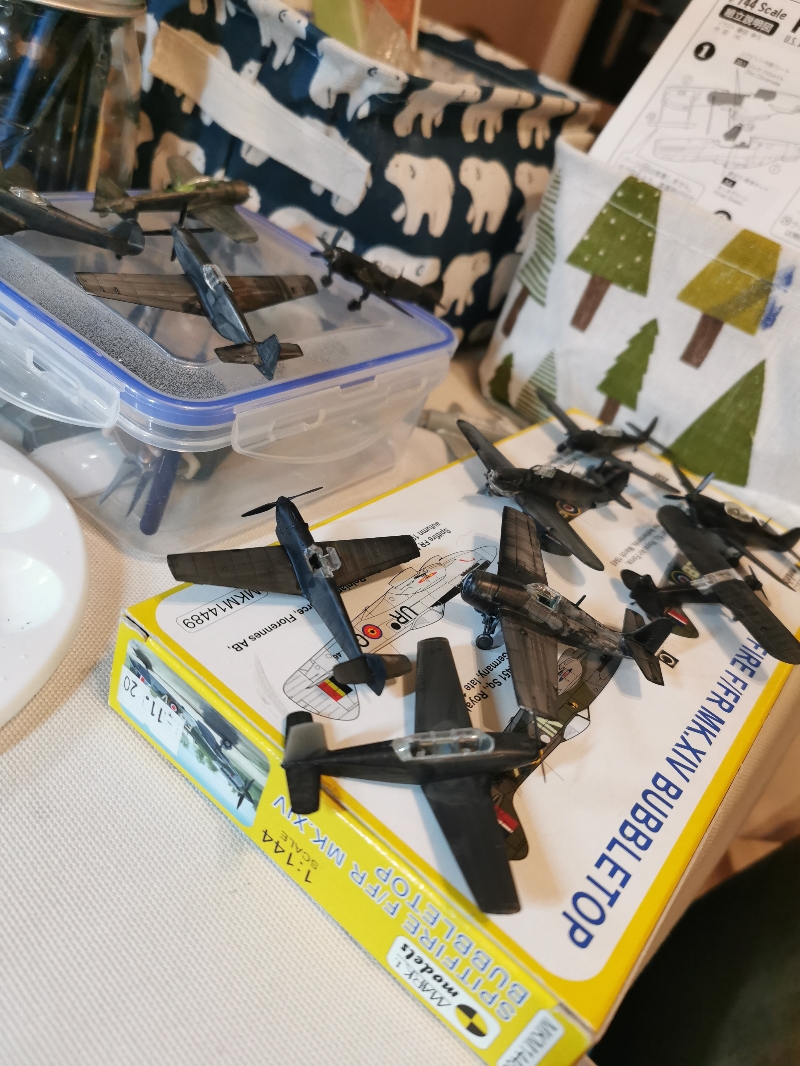
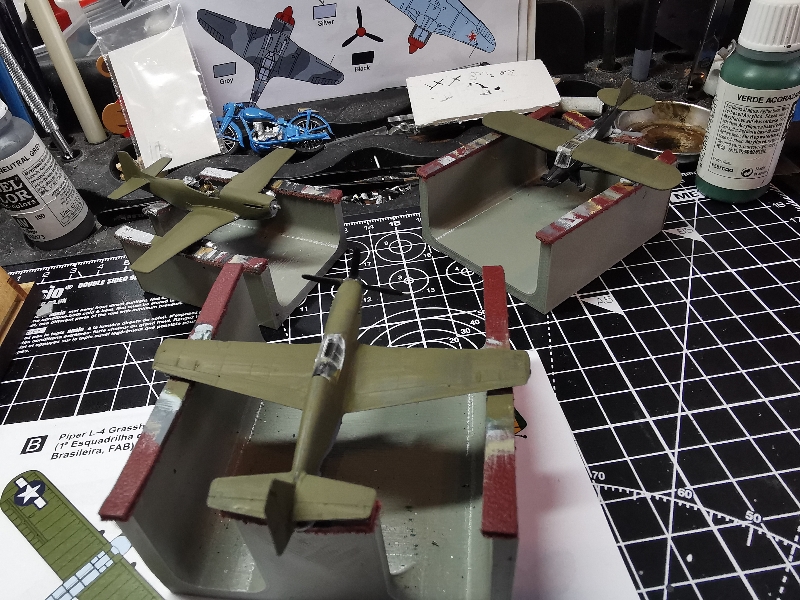
After priming, a nice easy bit of olive drabbery followed (that it looks like I didn't photograph, but here are some of the other planes going green at the same time). I realised at this point that I could have been even more efficient on this project by just choosing Olive Drab aircraft schemes.
I did fade the paint slightly, adding buff, to represent an aircraft suffering the hot Russian summer. This also allowed some distinction of the 'fresh olive drab' that the scheme calls for, to cover the factory blue or white circles painted around the Soviet Stars.
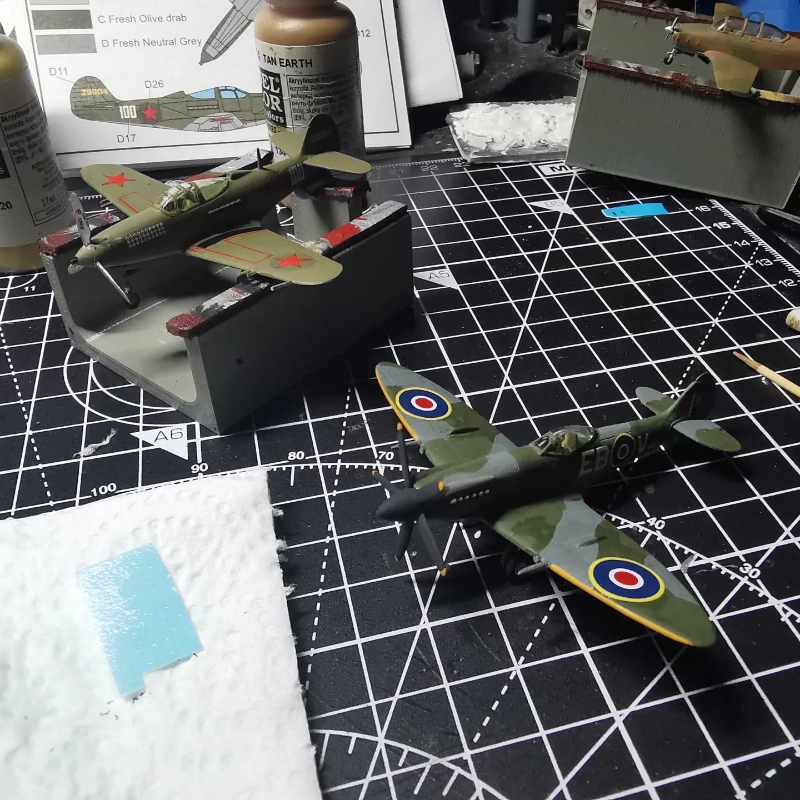
Rather like most WW2 aircraft schemes, there is some debate over #100. Some, such as the Osprey book portray this as a 1945 airframe, but it seems more likely it operated in May to August 1943. Colours are based on a couple of profiles but of course I claim no specific accuracy to them!
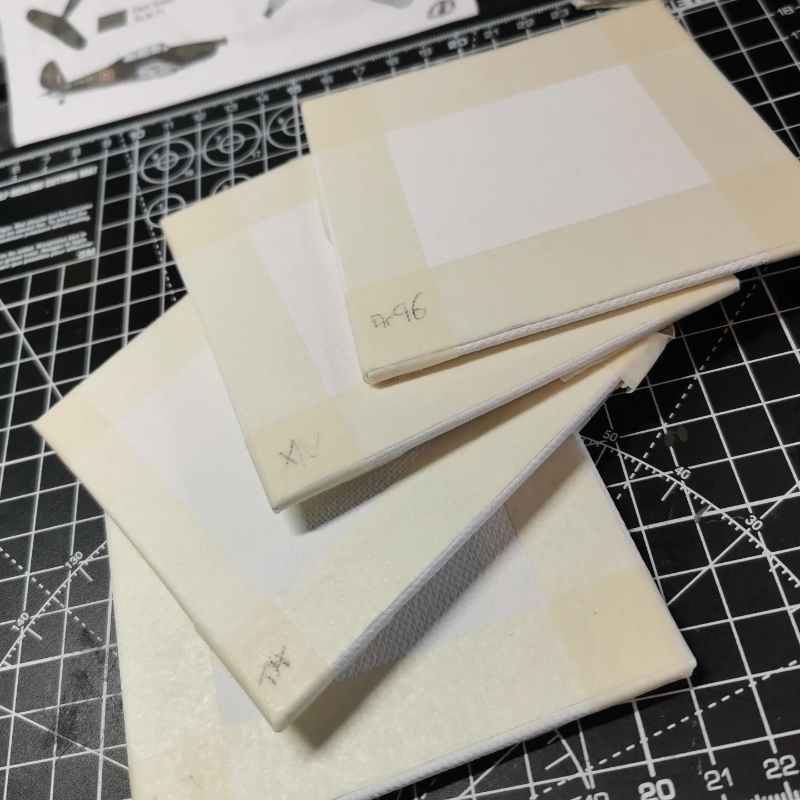
All twelve of the aircraft are to be based on my new standard base type - 10x10cm canvas boards with masked edges to provide a white border. All of my models are intended to be shown on model show displays, so having a distinctive base makes for a nice consistency and good visibility, it also makes them much more convenient for transporting.
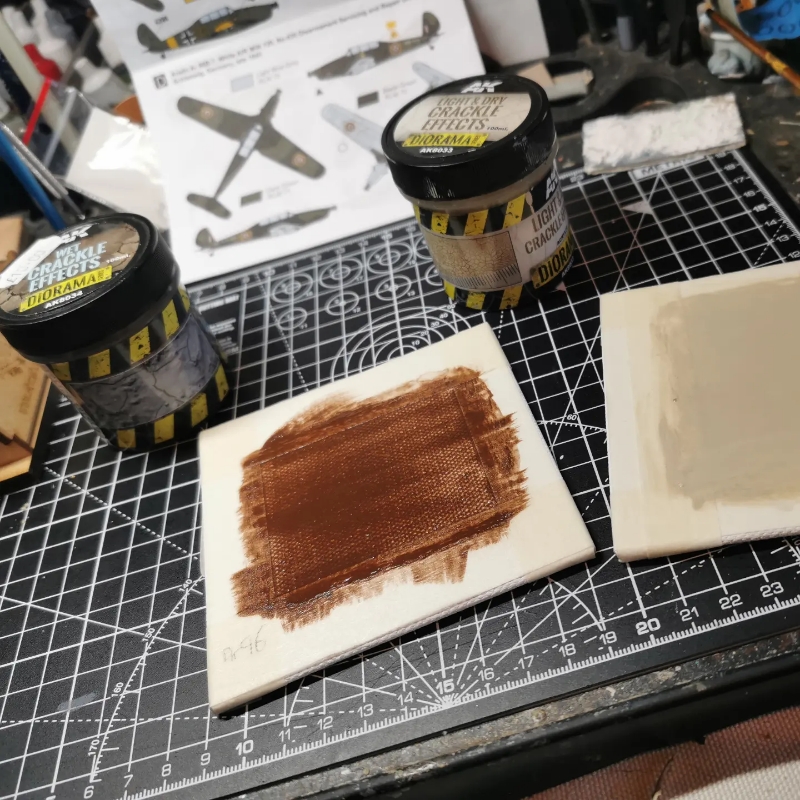
This base was painted with a cracked dry effect texture to give the feel of a remote dispersal point at a temporary airfield.
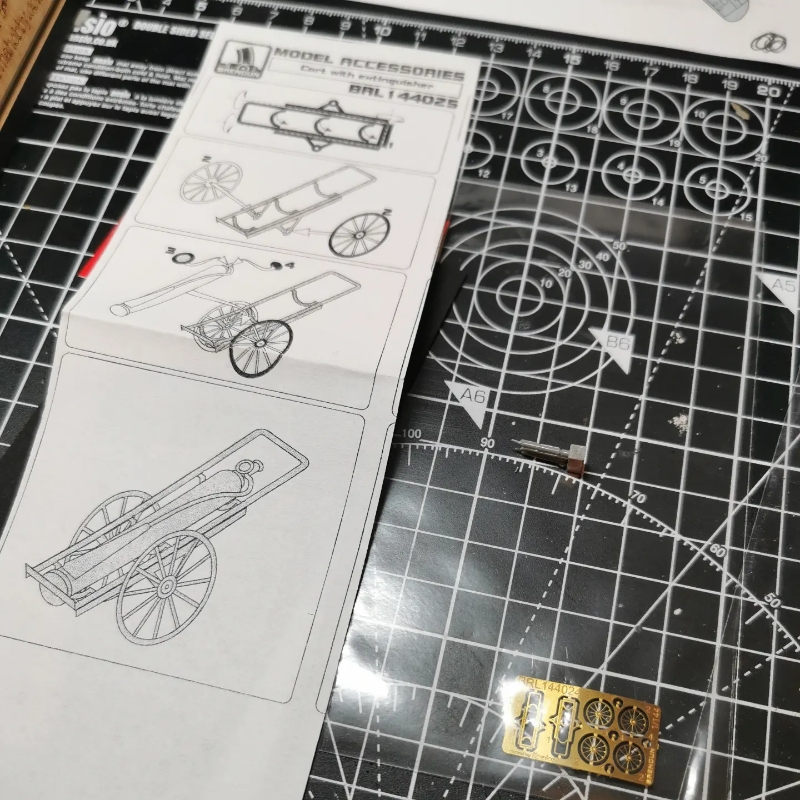
Rather than a vehicle in the scene, I decided one of the Brengun fire carts would make an eye catching addition. These beautiful etch and resin kits have infinitesimal detail
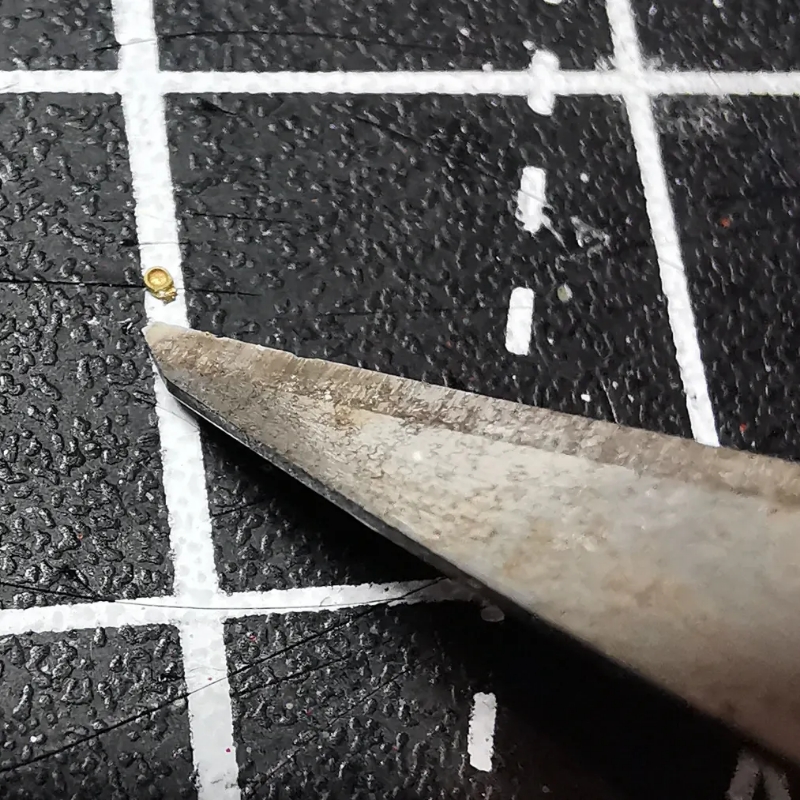
One of the gauges for the extinguisher.
Unfortunately disaster struck while I picked up the resin extinguisher with tweezers and it took flight, never to be seen again...
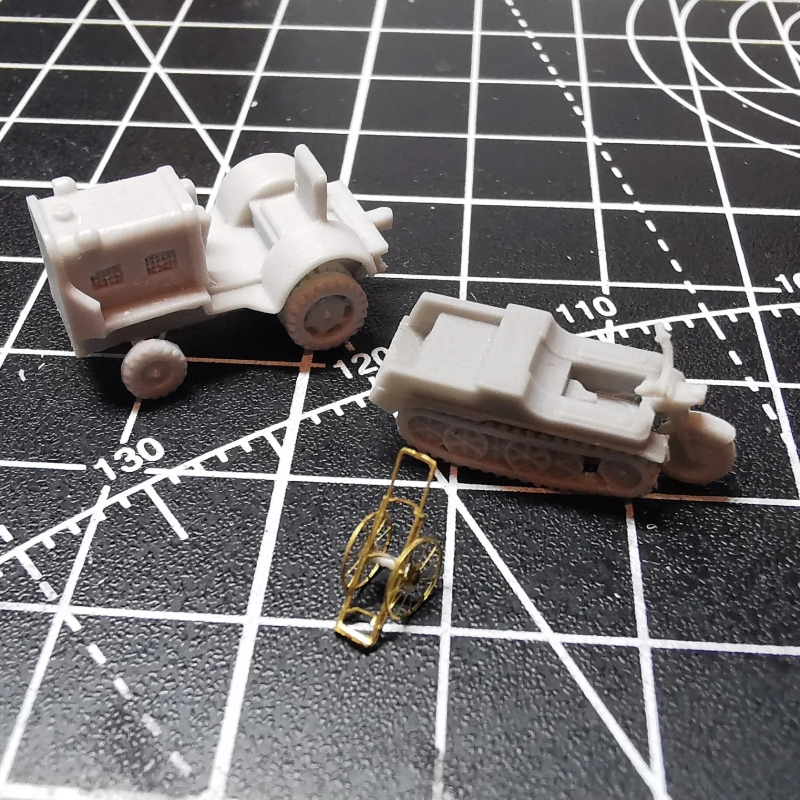
Fortunately the cart survived and I was able to paint this in a light metallic shade.
For the extinguisher, I found what I assume was a support piece from a 3d printed model that was almost identical in shape and size - so I painted this and added a thin wire piece to represent the hose.
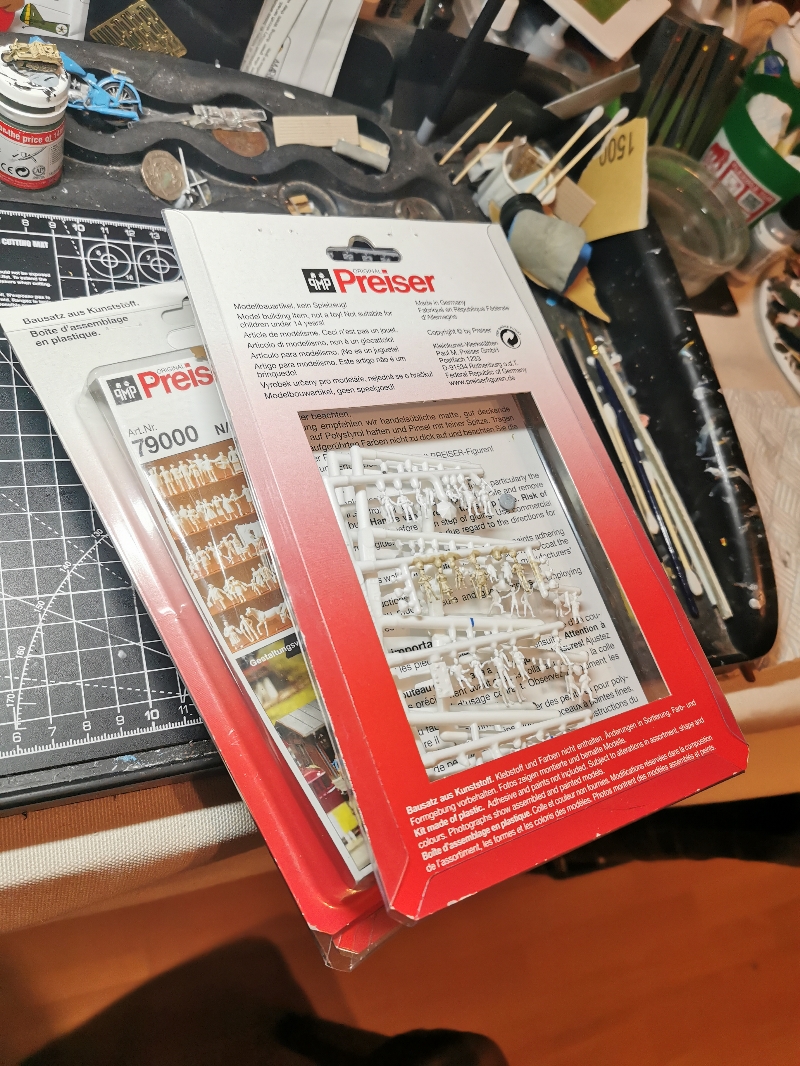
Figures are from Presier, these 1/160 figures are small but wonderfully detailed and if not placed alongside the chunkier resin or whitemetal figures they look fine.
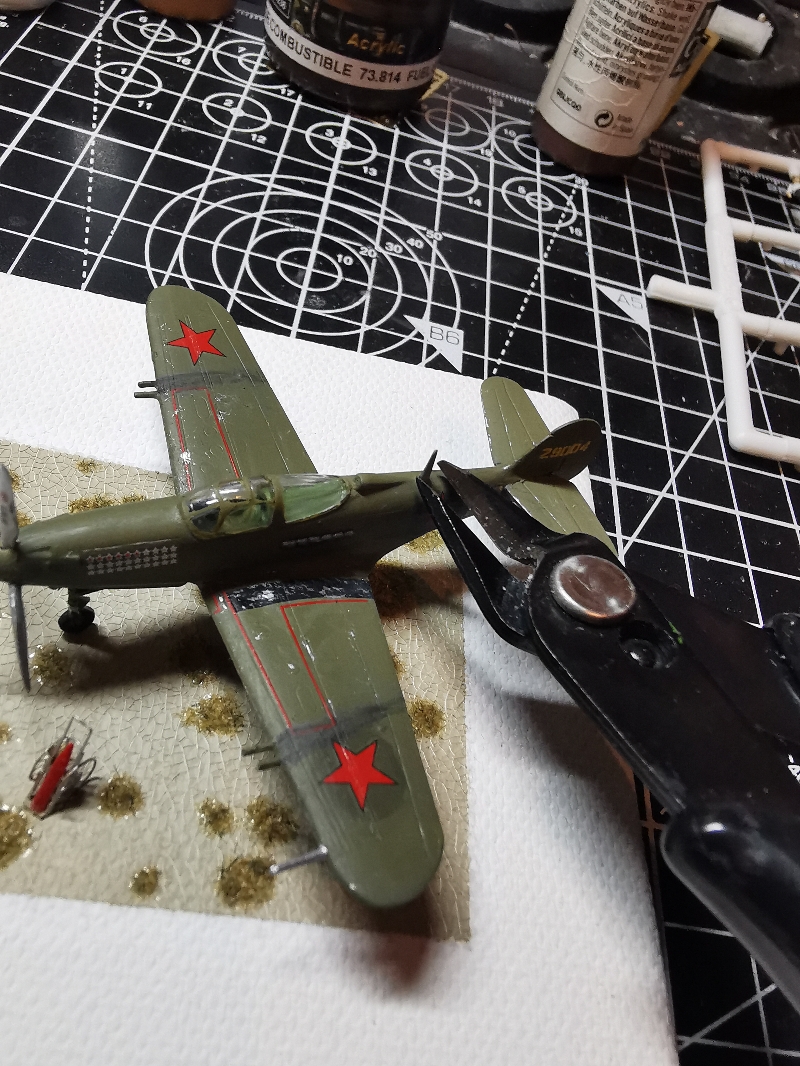
I glued the Airacobra down in preparation for the final touches. Checking my references for the last time, I realised that I had kept on the aerial that isn't apparently suitable for this scheme, so off it came and carefully remixed the faded olive paint to cover it up. Next I applied a fair amount of weathering to reflect a hard worked lend lease type.
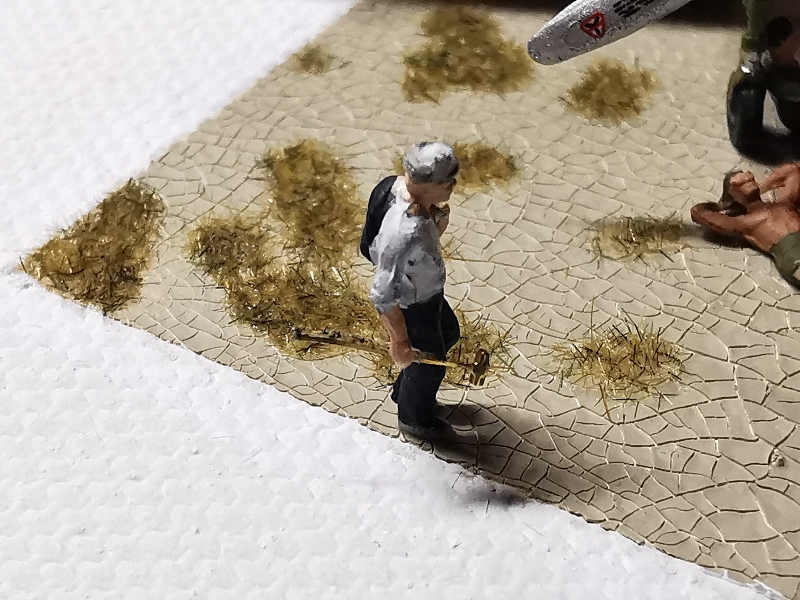
For a final Brengun accessory, I equipped this mechanic with a sledgehammer. Made from a Brengun tank took etch fret, it has to be folded in half to double the thickness and was definitely fiddly to do.
The final step was aerial wire for which I used 0.07mm wire. Takes a little getting used to handling but has good visibility while not looking overscale so ideal for table display models.
With this I called it done. Thanks for reading.

