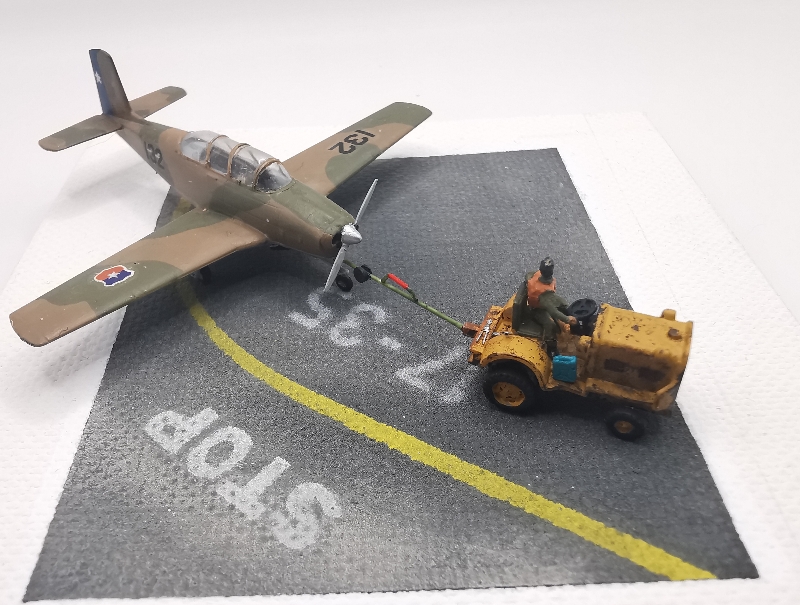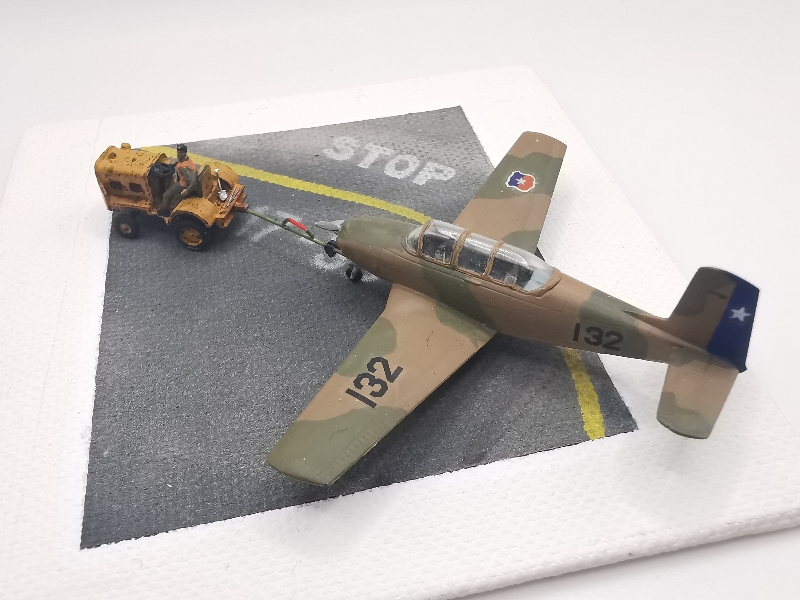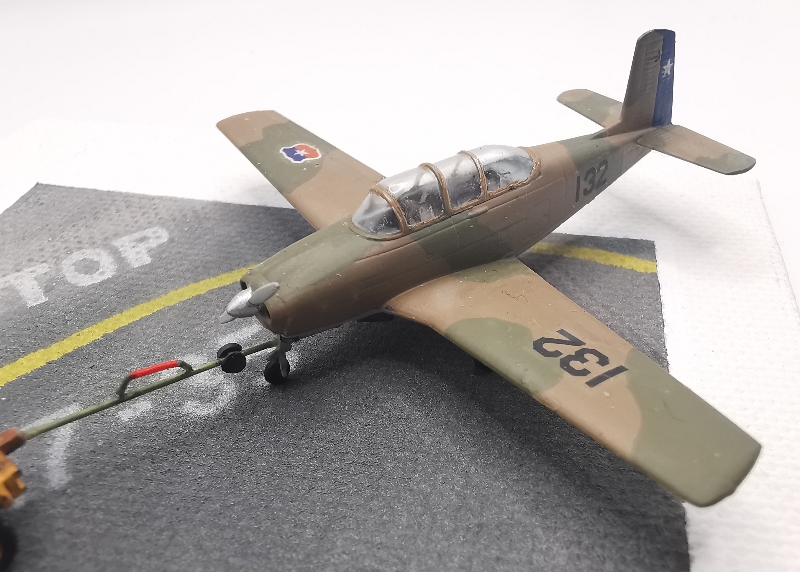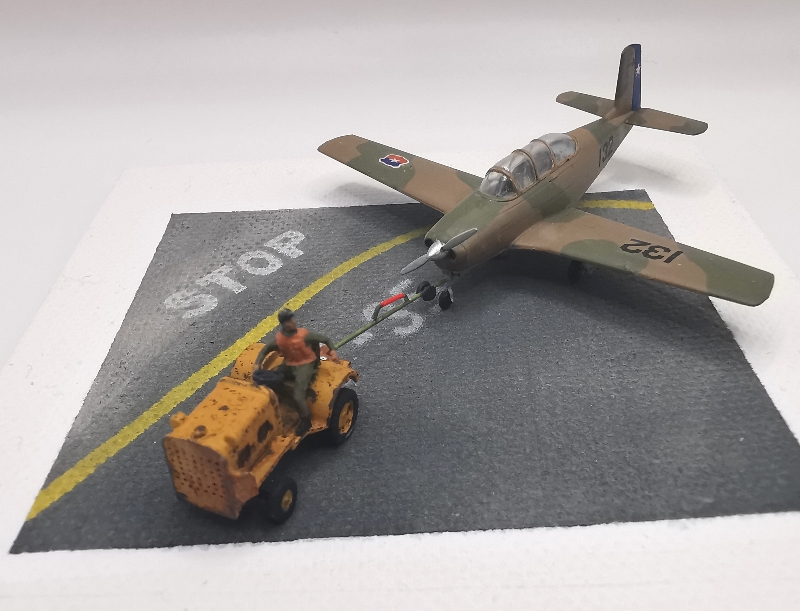
The Chilean Air Force used the T-34 Mentor as a trainer from the 1950s, initially in silver, later in camo schemes.
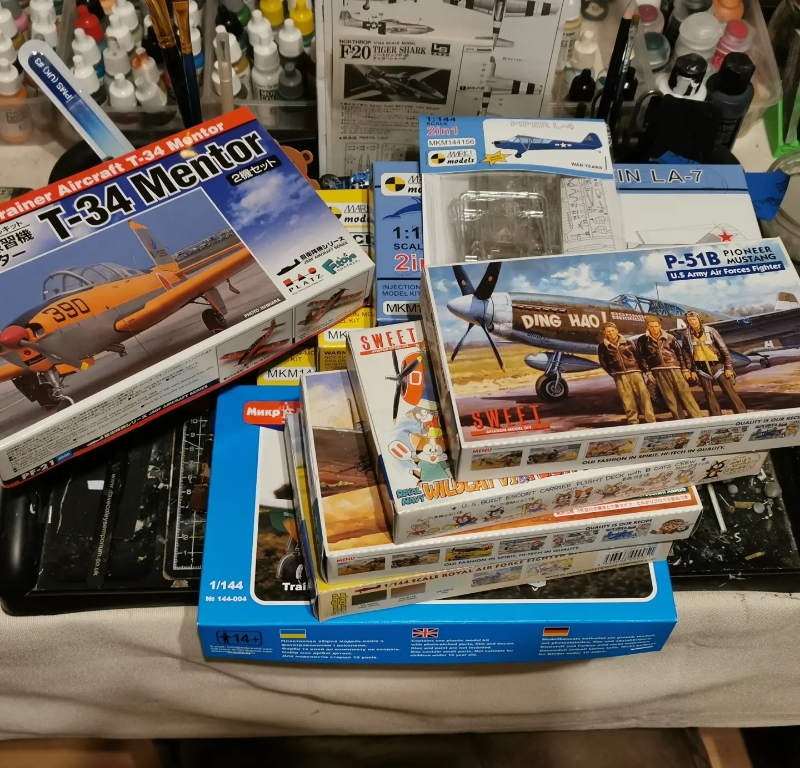
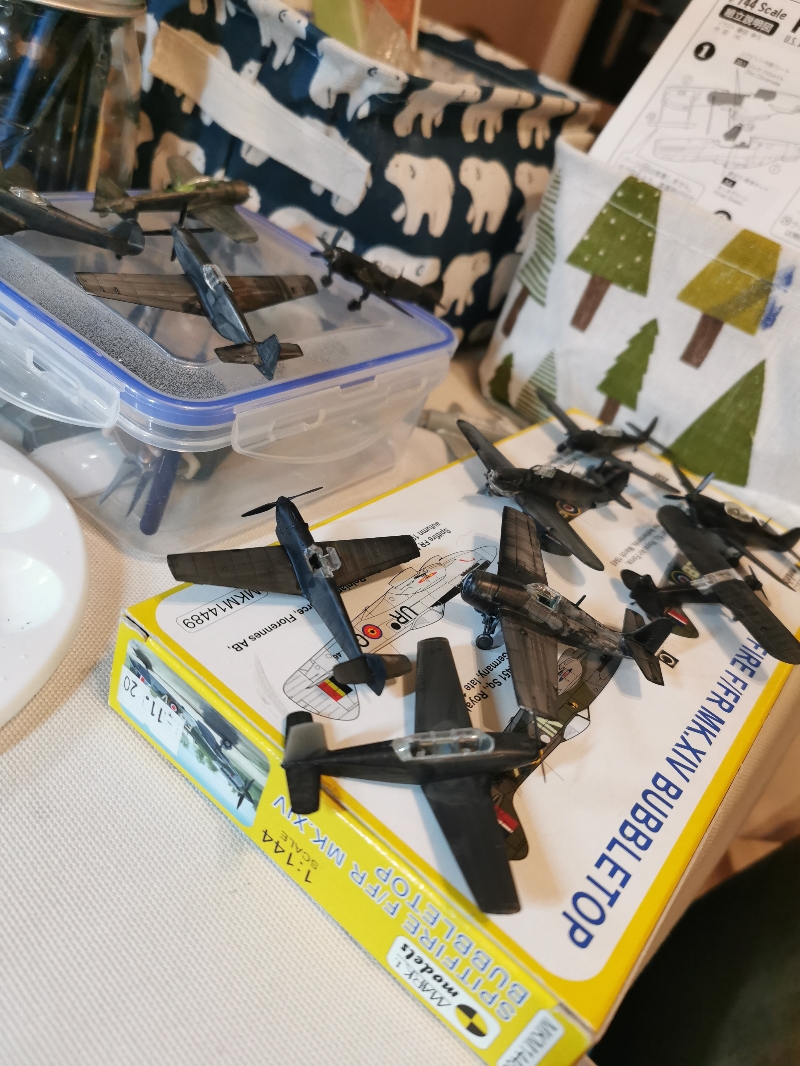
This build was part of my 12 Builds of Christmas project - this started as a desire to take a break from a number of very complicated builds that were clogging up my bench and sapping the mojo, instead to focus on 12 straight forward builds on straight forward vignette bases - using a production line technique for efficiency.
I started on the 12th December with the original plan to complete all the builds by the 22nd January IPMS Bolton show. As it was, the project took a lot longer, as one might expect. Instead I ended up splitting the project in half and completing the first six during February of which this was one.
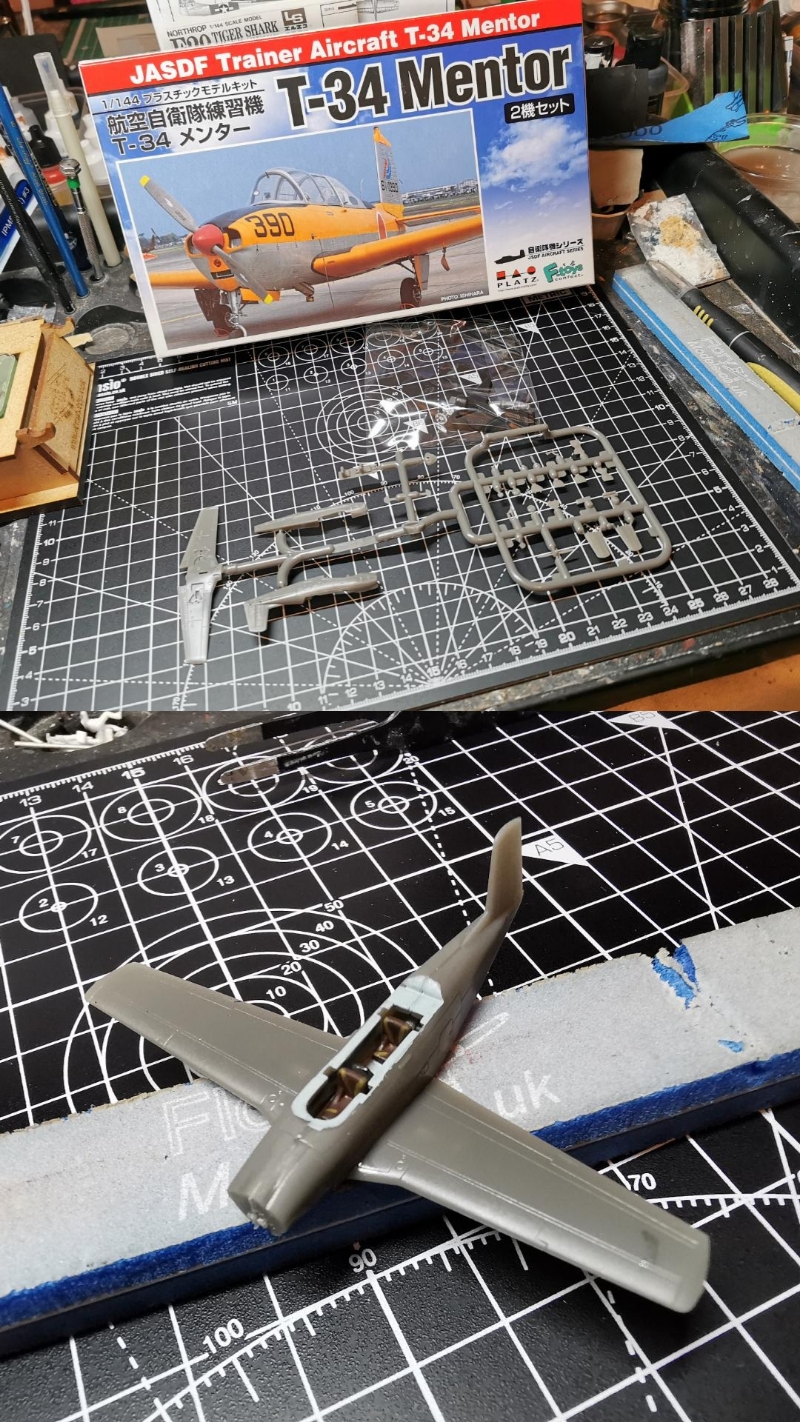
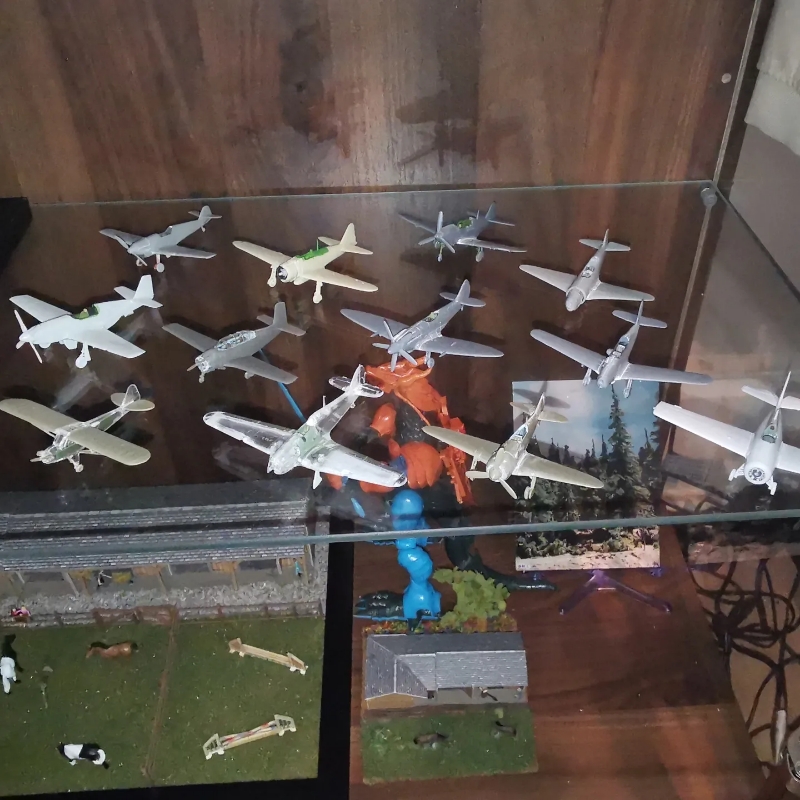
This kit was initially released by F-Toys as part of their gashapon range - these pre-painted, push fit kits are very popular in Japan but rarely sold outside of the country. Platz have released a selection of these aircraft in their unassembled kit form - they are surprisingly full of detail and very easy to assemble. Parts push firmly together then I sealed with cement. The interior was painted in a generic soft grey with leather seats.
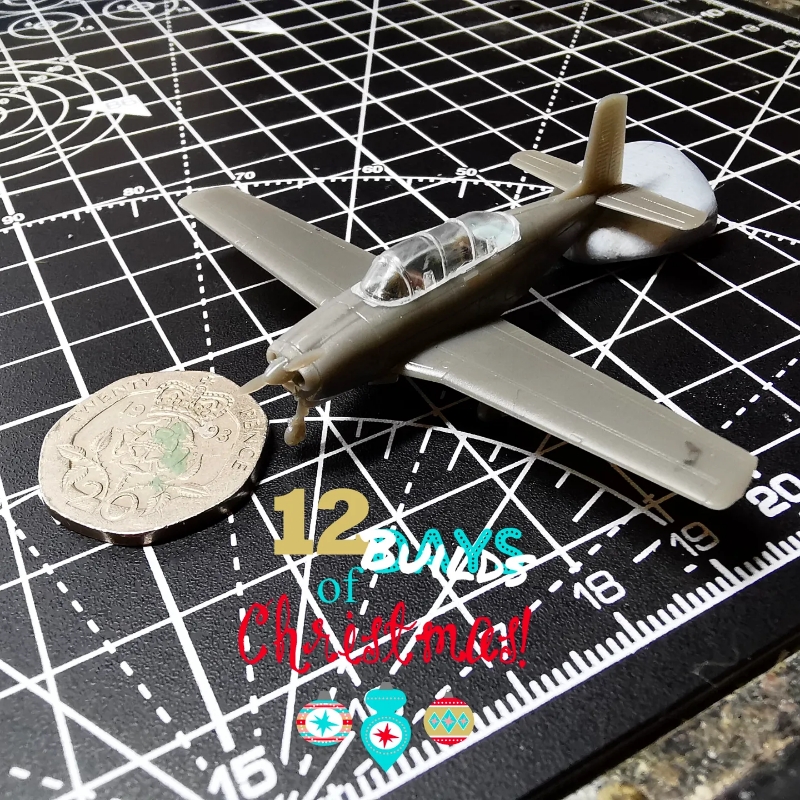
The kit went together very smoothly, finished by the end of the second day. Although I normally leave off the canopy for ease of paint and varnish, I decided to add it on at the assembly stage to speed up the later stages of production.
The canopy is one area where these kits do fall down, as part of the push fit nature of the gashapons they have large plugs for the fitting that are visible on the inside of the canopy, despite my best attempts to polish them out.
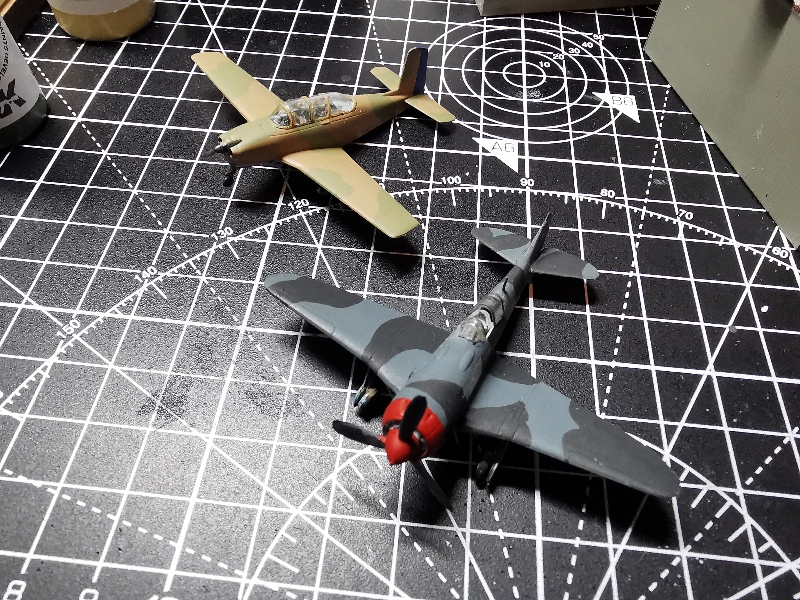
After priming, I painted up following paint references in the Squadron Signal book on the Mentor which refers to an Olive Drab and Tan scheme. To represent a slightly older airframe I 'faded' both colours using Buff paint. The camo scheme is photographed in black and white in the book and I used this as a basis for the paintwork without any further profiles that I could find.
The tail was the one part I couldn't be sure about - the photo in the book seems to show a different shade on the rudder but this could just be shading. The planes definitely had a blue tail in their original metallic colour so it is not impossible that some may have retained this along with the change to camo - or maybe had them repainted for visiblity later on.
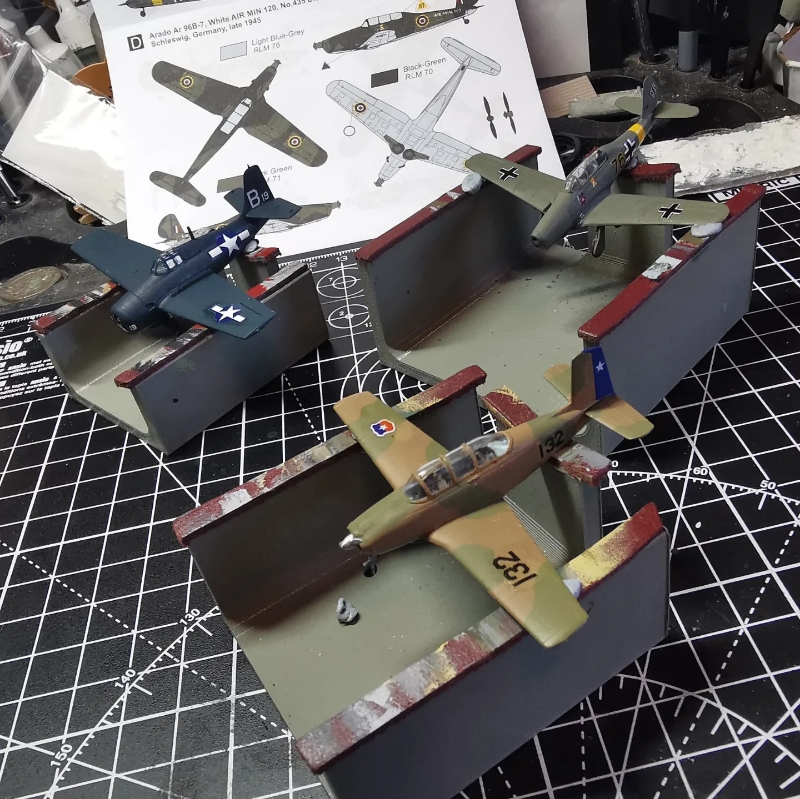
This was the only kit in the build not to use the boxed decals - instead I borrowed the decals from a Miniwing Cessna Bird Dog and rearranged the number code to represent a real T-34, although not one that I could find any pictures of - so thereby allowing some modeller's licence in terms of the exact scheme.
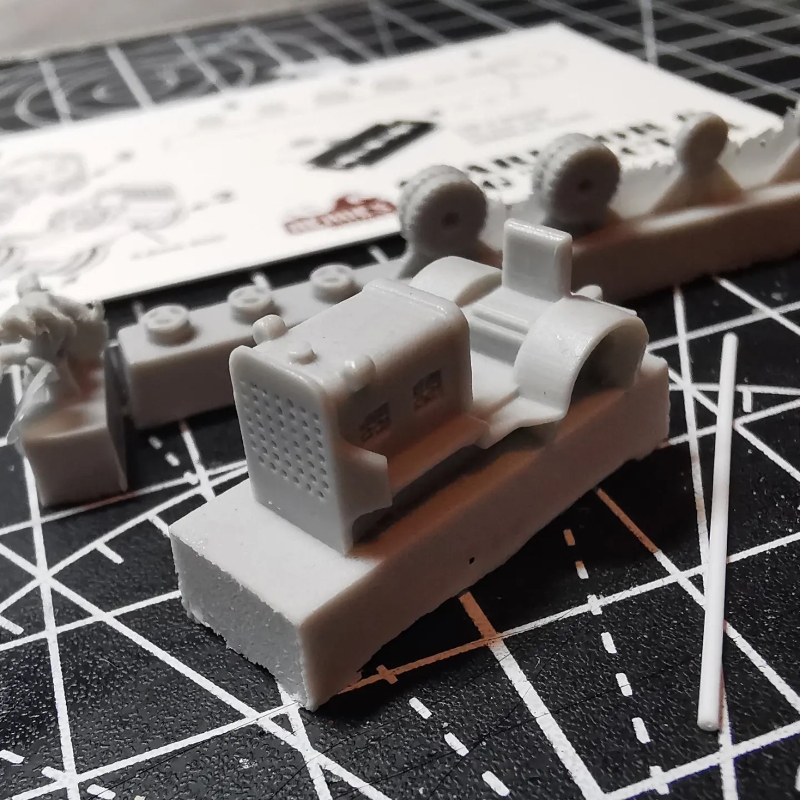
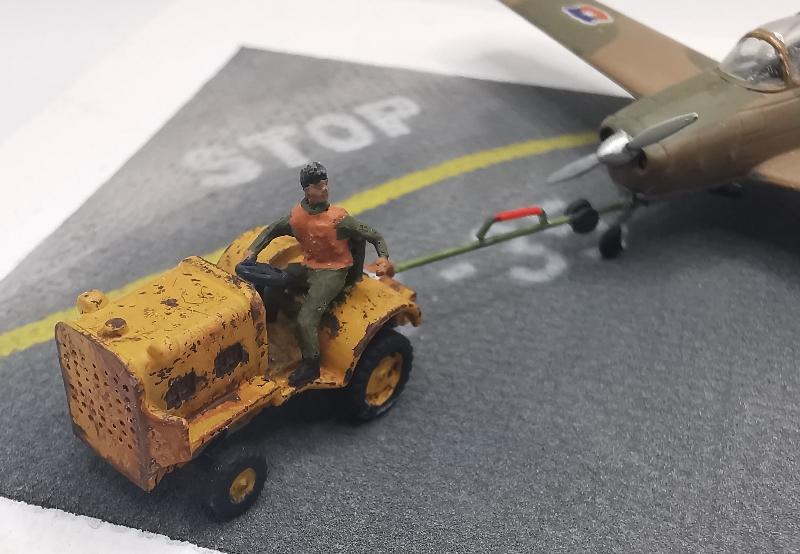
The vehicle on the base is a Clarktor 6 tug tractor, provided as a resin kit from Heroes Models of Italy. This is a lovely detailed kit in a few parts including a driver figure too and went together easily. I have not found any sources to indicate that the Chilean AF operated with them, but it seems like a plausible type
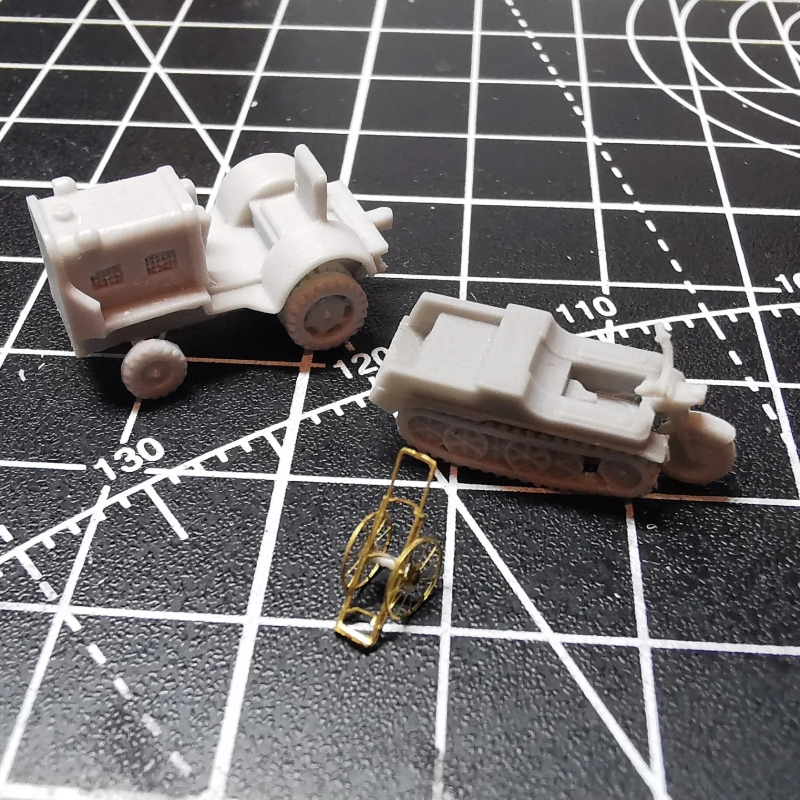
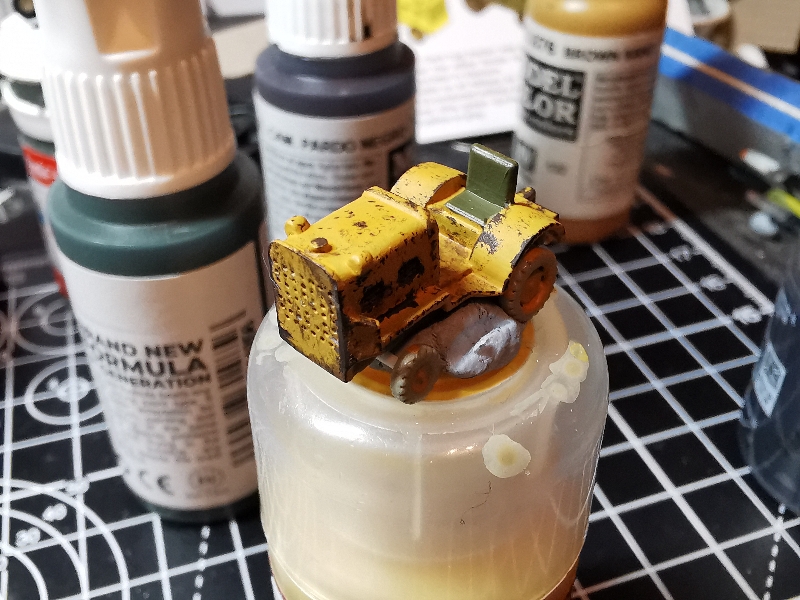
I decided to go all out with the weathering on the tug. Pictures of the type often show them with high levels of rust and chips. The aircraft I kept in good condition - purely based on the photo in the Squadron book, there was no visible weathering and trainer aircraft are often kept in good working order.
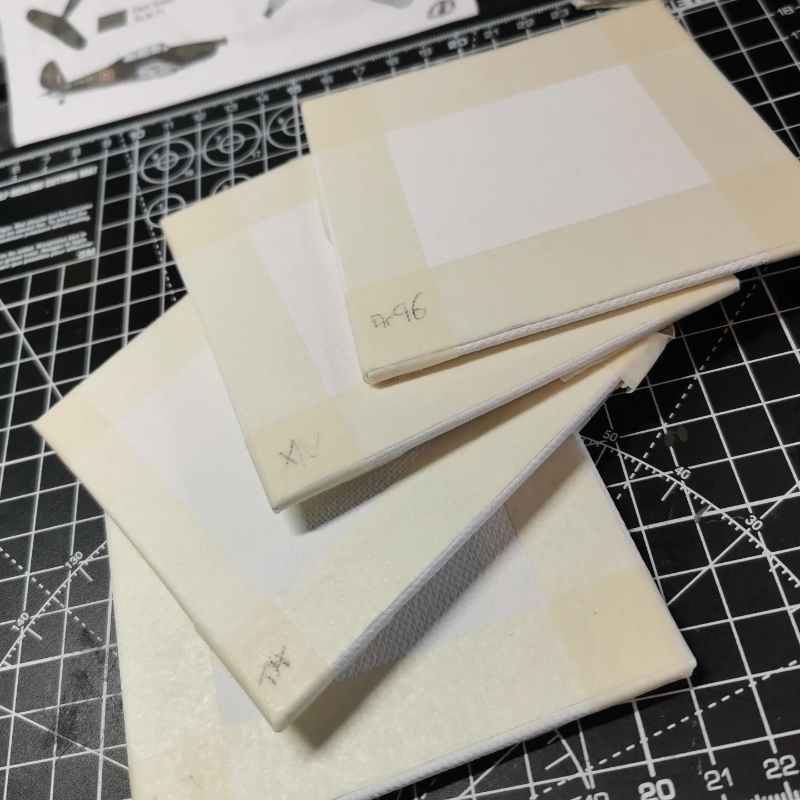
All twelve of the aircraft are to be based on my new standard base type - 10x10cm canvas boards with masked edges to provide a white border. All of my models are intended to be shown on model show displays, so having a distinctive base makes for a nice consistency and good visibility, it also makes them much more convenient for transporting.
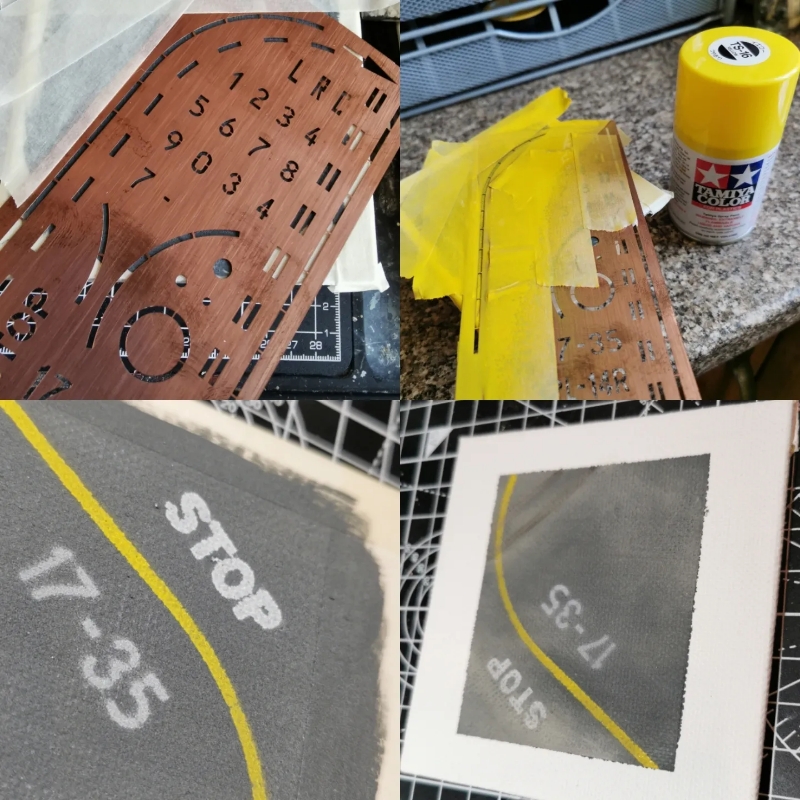
For adding an airport feel I used a stencil from Dan Models Ukraine, ordered from Ukrainian ebayer the day before the invasion, that amazingly showed up some six months later.
It was my first try with this etched stencil and the effects were a little blurry but I carefully touched up the edges before dusting the whole scene with pigment.
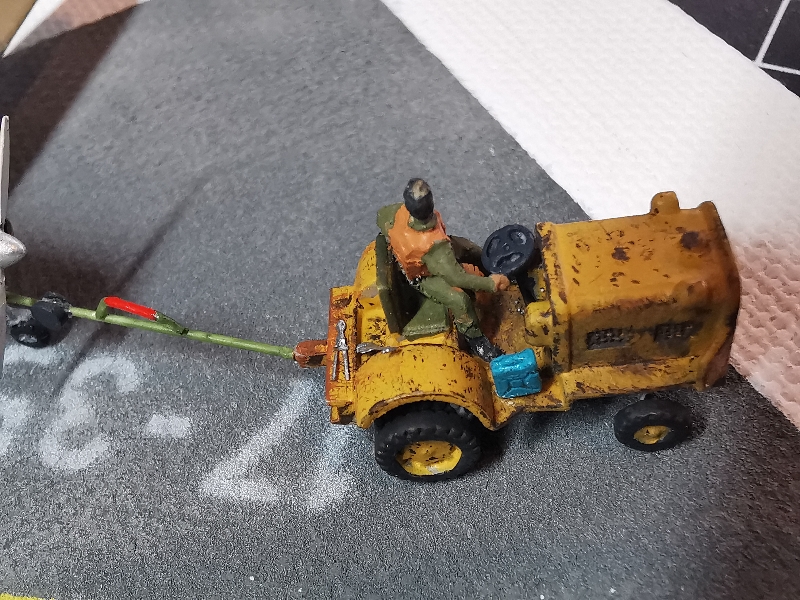
The last step was to add some extra fine detail to the tug - Brengun etched tools and a jerry can painted in more contemporary colours. I also scratchbuilt the tow bar from some styrene rod, loosely based on some reference photos.
With that this first completed vignette of the 12 Builds of Christmas project was done. Thanks for reading and enjoy the photos.

